Sunday, January 10, 2010

The Pumpkin House, or "Is that Primer?"

Newly painted house with newly chopped poor tree. More on the tree in another post.


Certainly we had planned to paint long ago, but took this project, too, a step at a time. Before we toured for 10 months, I prepped and primered the house.


The house had was all white as pictured above. Using a good friend's computer program, Eleni and I decided on orange. Here is another before shot, this time the South side of the house:


And after:

There are some pretty high areas that required a tall ladder. After painting at such a height, I would recommend using a stand-off which helps move you further from the house (so you can see what you are doing) and secures the ladder.


Still, don't look down.

Luckily, I had a couple of friends help me paint, including Mike (Tofu Mama).

The house is not yet finished -- more hard work to come this Spring including the window trim and porticos. The porticos will be grey.

We will also need to take apart most of our old windows and re-rope them. Luckily we have no other long tours planned, so I will be home to complete these projects.


For now, we are very happy with our new pumpkin house. Even if a couple people asked "Is that primer?" hopefully. We are happy our home is a part of the colorful houses of Cleveland Holloway.

From Duplex to Single Plex -- New Window!


When we bought our house in November 2005, it was a duplex, complete with a wall running through the front room.

After several tours and other repairs (and after Eleni recovered my password so I could blog again!) I finally replaced one of the doors with an old four-over-one window (pictured in the middle).

I bought the window itself at Peter's Design Works a couple of years before installing the window this past summer.

It's nice to have a window here now providing more natural light. To complete this project, I first removed the door. Then, I framed in the window (after measuring the space), cut out and nailed the plywood to the wall (to cover up the gap from the door), stapled a vapor barrier onto the plywood to keep out drafts and water, then reused old siding from another project and nailed this over the plywood.

Then it was time to shimmy the window into the space, and line up to match the windows to the left and right (as much as possible). Last, I cut trim boards to cover the gaps in the right and left sides of the frame.

For the interior, I also cut and fitted the trim pieces onto the frame. I put insulation into the wall below the window, then covered this as well with drywall. I recycled pieces of baseboard from an old closet in the house, and nailed that in to match the existing baseboard.

Now, I just need to caulk the spaces and paint the trim.


Friday, January 12, 2007

Friends are Great or New Water Main


Hey everyone,
I guess I should say"Happy New Year!" There is no better way to start the year out than to install a new water main from the street to the house. It took 3 days and $230.00. It would have been cheaper if I didn't buy a $28.00 hammer, but I'll get to that in a minute...

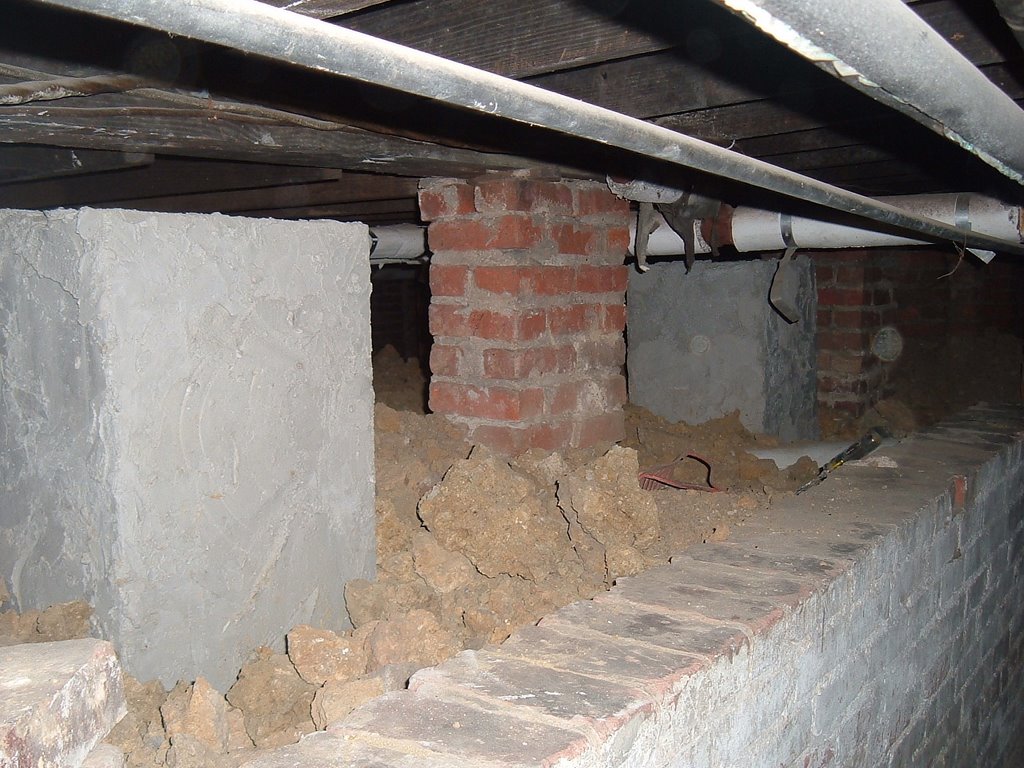
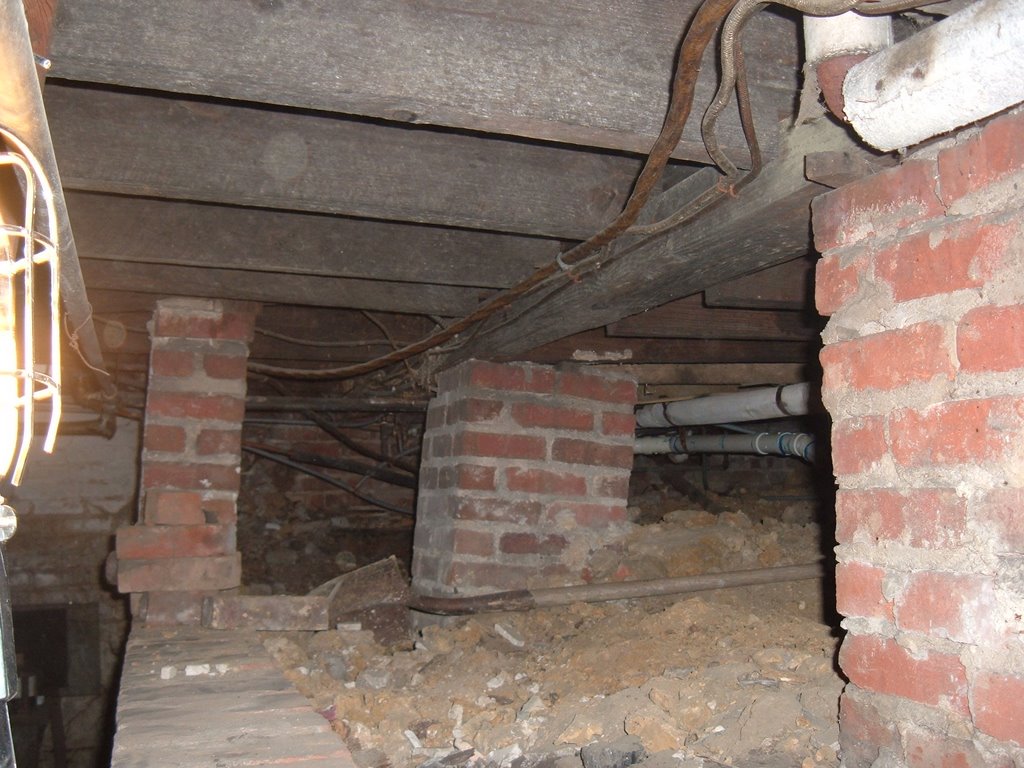
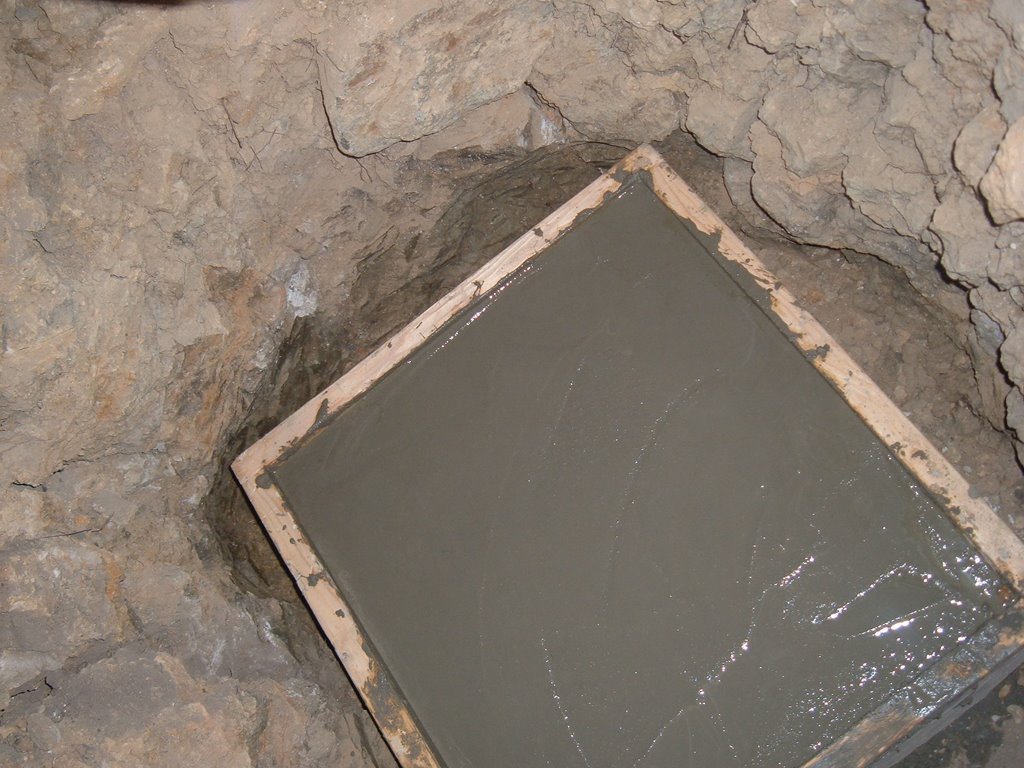
This picture above shows some of the new foundation piers I've been building. They are real deep in the ground (about 4 feet each). While I was crawling around I noticed that some of the ground at the far side of the house was packed like beach sand. I started digging it up to find a broken water pipe (the Main) , which made me start laughing pretty hard, because now I knew how the tree growing out of the side wall of our house was doing so well. It was enjoying all water it could get.

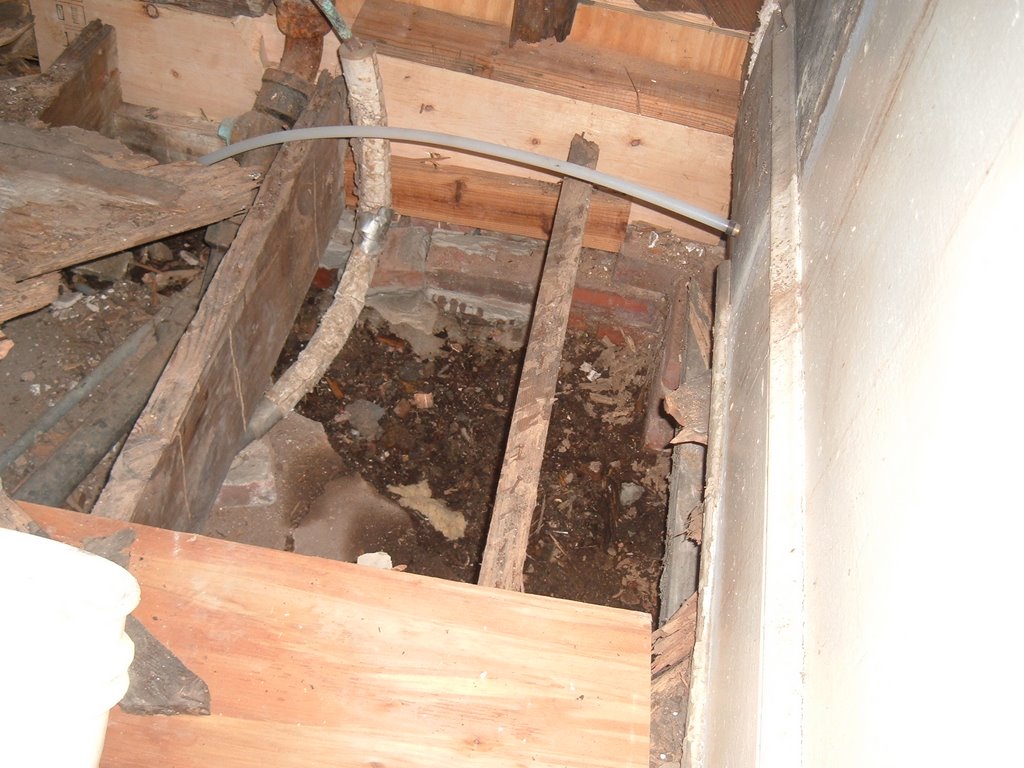
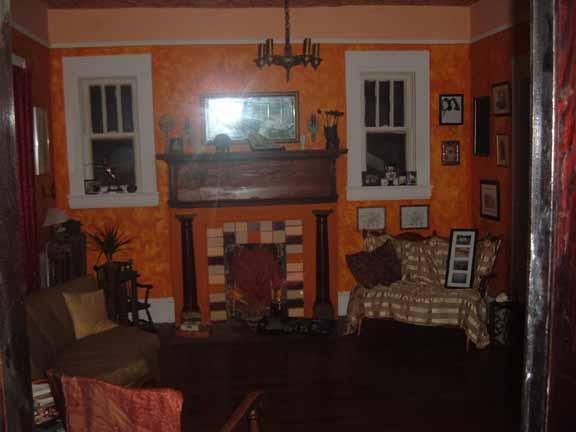
The water drained to the front porch where it buckled the floor. I had to stop working on the foundion to take care of this problem or I wouldn't have been able to lift the house there for fear of it sinking more.

Friends are great and you know have real ones when they help you without your asking. My friends Gary and Jeff are fantastic. It would have been at least a week without water and I don't think you would want to be around me without a shower for 3 days nevermind a week.

The first day was kind of crazy. I started to dig around the water main shut-off switch but couldn't find the pipe. I thought the plumbing 
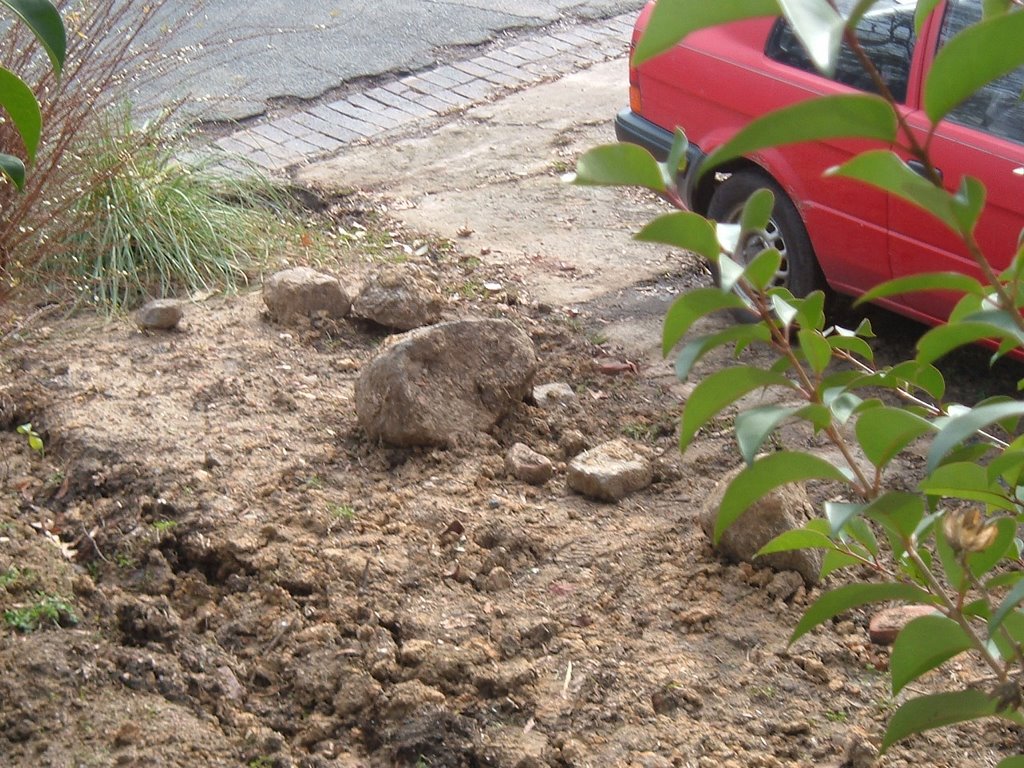
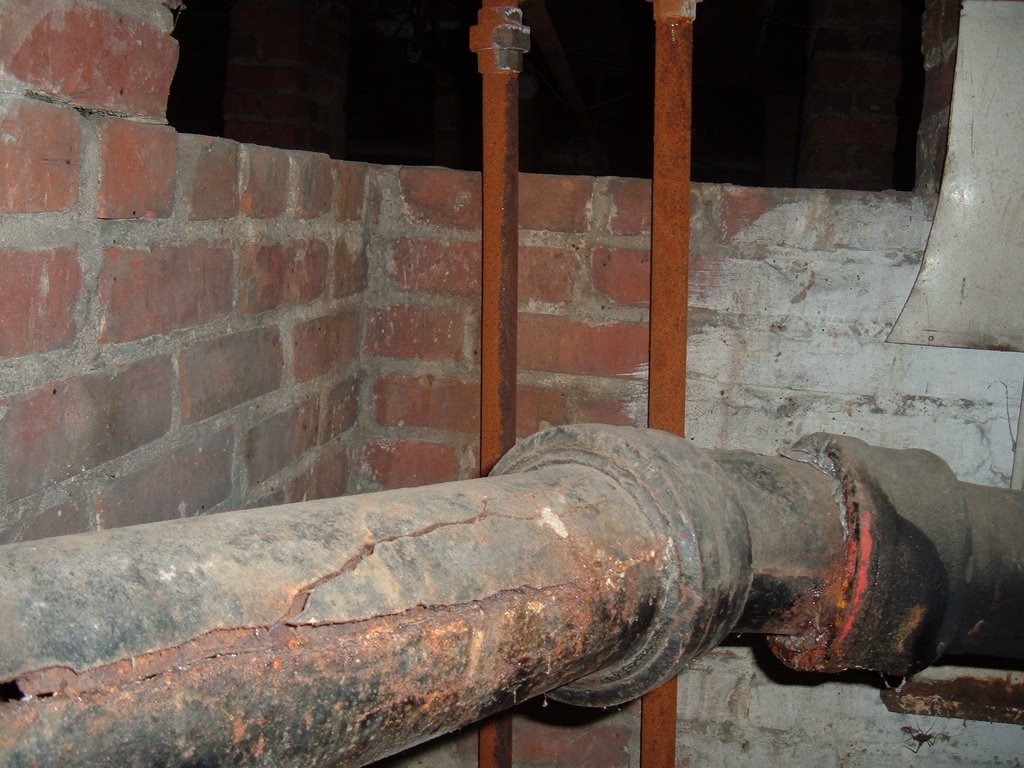
gods were against us. I called Gary to see if he knew something I didn't. After an hour of trying to find the water pipe, we gave up and dug our own. It turns out that whoever installed the old water main piped around the huge boulders seen in the picture above.

The old pipe came out at a 70 degree angle from the house, continued under the driveway, then doubled back to the water meter at a 90 degree angle. These boulders where huge. It took awhile, but we dug them out. As my friend Joe would Say "NICE!"

You always want to have a straight shot from the street to the house. No wonder our toilets weren't flushing that well.

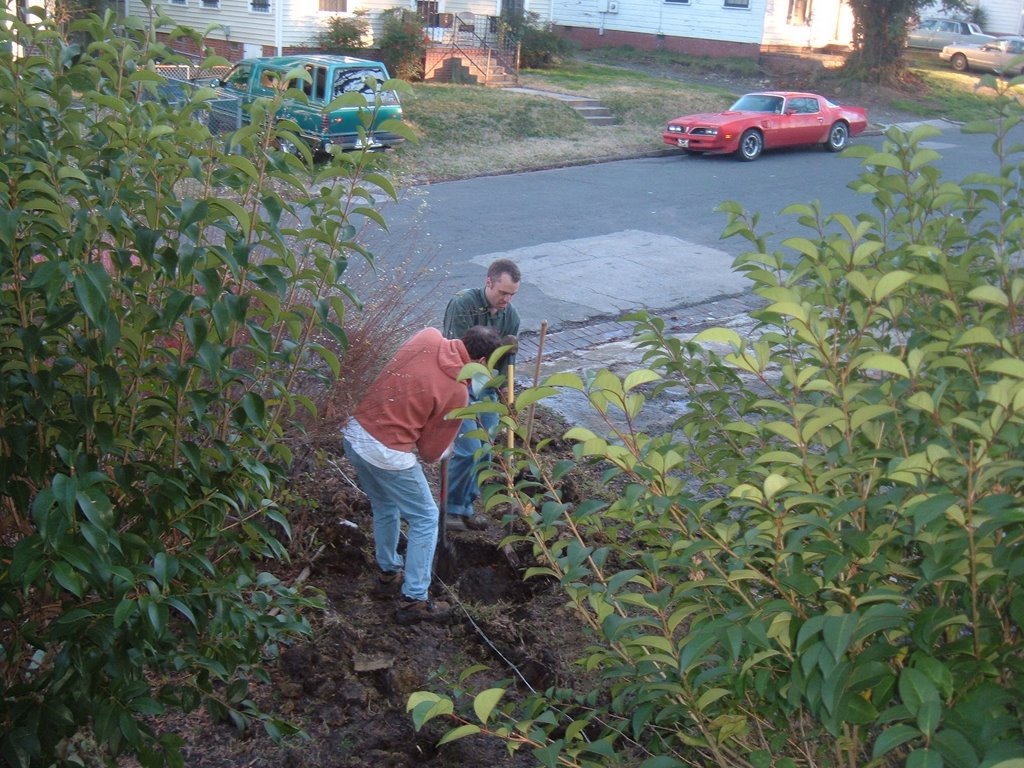
The ground was hard and full of clay. The clay was sticking to our shovels. It took a couple of 10- hour days digging this trench. I recomend paying someone to do it. It's a real pain.

For the first day, Jeff and Gary helped dig the trench. The second day, Gary helped me install the new plumbing. He enjoys working on soldering the copper joints and I thank him. I was so tired, that he did most o
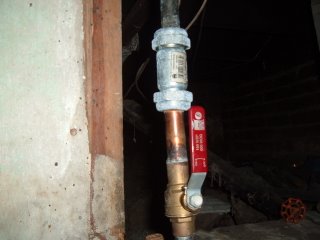
f that job. We had to install a new shut-off switch because the old one isn't made for connecting to copper.

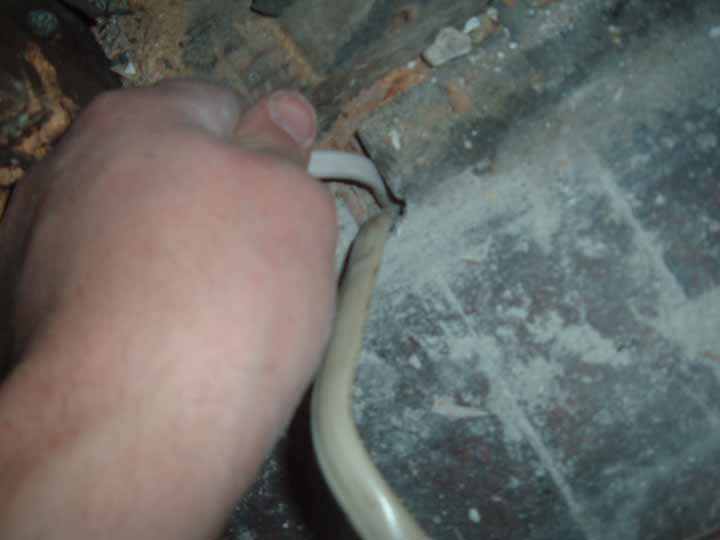
As you can see from the picture, I had to dig under the house to get the right level.

We ran into some problems at the other end pipe. The old pipe had a lip on it, that connected to the main meter outside. Gary and I ran to the store a few times trying to see if we could buy
a piece of pipe that would fit the old pipe and weld it on. No one had one and to make the flange would cost too much money.

That's where my $28.00 hammer came into play. The guy at the hardware store up the street told us that we could use a hammer with a round edge on it to bang the top of the new pipe to get the flange we needed. After trying this twice and failing, we decided to clean up the old pipe and use it instead.

Before we did that we had to sit down and eat bread and peanut butter, the only thing we had at the time. With our stomachs half-full, we finished the job.

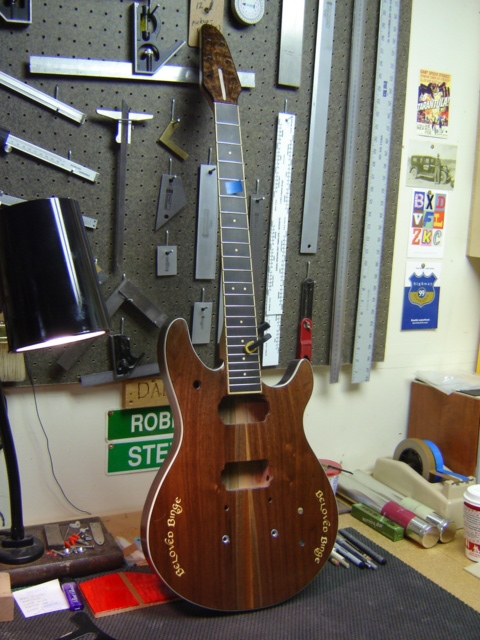
I thought I would post this picture down below as part of our music portion or lack thereof. My cousin-in-law is building the first ever BB guitar. See ya.
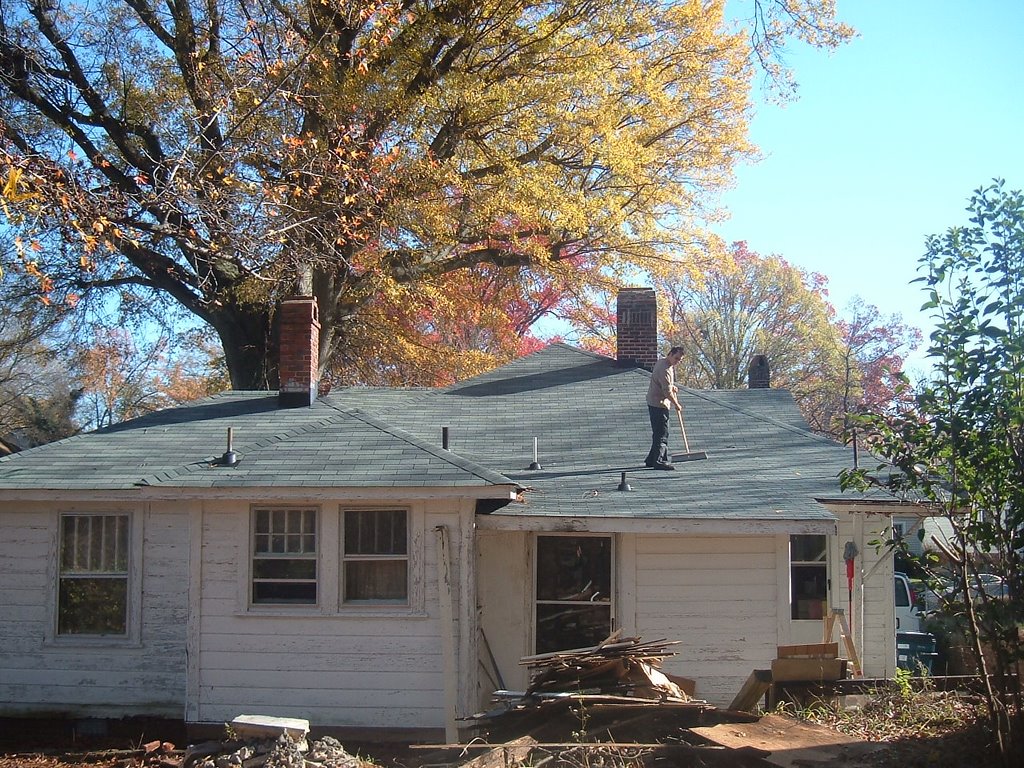
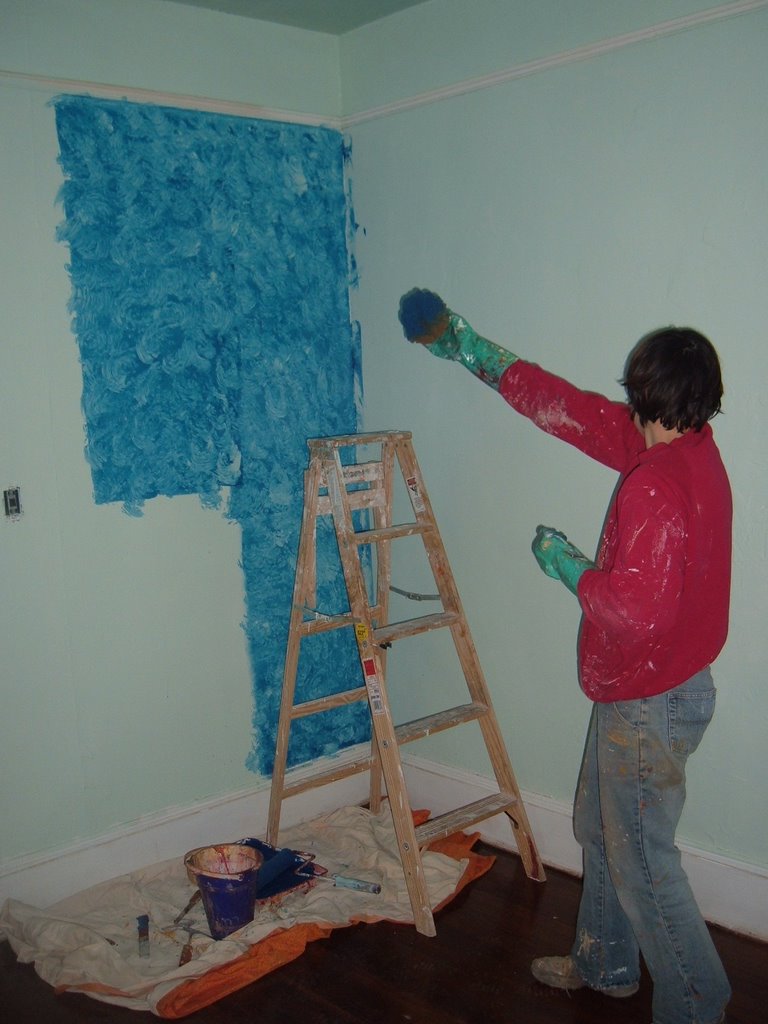
Friday, November 24, 2006

Back to work


I know it's been a long time since I haved blogged. As some of you might know, Eleni and I went on our East coast tour in suport of our latest album "Other Places." After the tour, we went to Europe for a month and a half ,visited some family, and played some shows there as well. If you go to Binge Cafe you can read about the tour. It's been great! We met a lot of cool people and ate great vegan food. I'm happy to be home.

Ok, here are some new updates of the house. I'm not going to go into a lot of boring details this time. That's right: short and sweet.

1) I put gutters on the house. It seemed that there was a lot of water under the house and it smelled.

2) Some of the outside wall and siding was rotted out and the bricks need to be cemented back into place.

3) I replaced the outside wall and some of the inside floor joist. The former kitchen sink's pipes burst a while ago. No one was living here at the time so the water rotted out the floor and the wall. There was a nice hole to the outside, which Greco (our cat) was using for a cat door. I replaced some loose bricks and stuccoed the brick foundation.

4) I decided that it was time to do some serious work on the foundation. There was all kinds of junk under the house. Apon cleaning out the basement I noticed a cracked pipe (not a crack pipe). The best part
about this was we hired some plumbers to fix the bathroom pipes. They connected the new drain pipes to the old cracked pipe. That's right! All this time water was draining under the house. Next time I'll just do the job myself. As you can see, the foundation columns aren't very straight anymore. Well...I had to cut the pipe out and replace it. As I was cutting it, it fell apart. Six hours later, we could take showers again. That old pipe was a pain to cut. More plumbing will need to be replaced in the future, but for now we need to move on to bigger jobs. I built some forms for the footing and dug a 4 ft. hole. I mixed concrete for the footer, and using cinder blocks, created a column by stuccoing the sides after piling the blocks into the footer (dry stacking).

More pictures to follow. I've had a few days off from this work, and been writing some new music with Beloved Binge, but will be returning to the nether-world tomorrow.

Tuesday, April 04, 2006

BB's New Recordings


Hello people,
On April 1, 2006 Eleni and I recorded our new album Other Places. We
took a six hour drive to Atlanta and recorded at Zero Return Studios. I want to first say that the people at Zero Return Studios are fantastic, down to earth and easy to work with: www.zeroreturnstudios.com. They create analog sound recordings. We recorded 15 songs in two days. The drums and guitar were recorded live. Jim (who engineered the album and is in the picture to the left) isolated the guitar amps and we did some overdubs of lead guitar, bouzouki, keyboards and vocals on some songs. Jim is old school and has been recording bands since 1971. He is the best recording engineer I have ever worked with. When recording, I usually get very nervous doing my parts and sometimes things don't go very well. It didn't happen this time. Jim seemed to set this easy going environment. They have this great collection of instruments. Eleni played all the keyboard parts on the album. She used this 1960's Hamond organ on the Song Ossuary. I love the tone this thing makes! I can't spill all the beans. I'll let Eleni go into more detail about that on her blog Binge Cafe. On the song One Day to Walk Through I used a 1965 Ampeg Reverbaracket for the solo. I didn't use any pedals for that song. We turned up the Reverbaracket as loud as it would go to get the slight distortion I wanted for the solo. The sliding door behind me is where the guitar amps are isolated. I like to use my custom telecaster for all my guitar parts. It's a real clean sounding guitar. On the song Gray Fingers I use my Larrivee acoustic through a Blues driver distortion pedal. It's a muddy sound that works well for me. After working with Analog I'm not going to go back to digital recording. We own our own digital studio and it can be cool to record yourself, but it is of my opinion that Analog is better way to go and more honest. We are going to use our digital set up, as a tool to make rough drafts of the songs and to record practices. I would rather play music and not try to make it all perfect on the computer. I'm not putting down people who do that. It's just not for me. I'm going to leave it to the professionals like Jim to record us. Jim doesn't own a computer.
Thanks Jim

Thursday, March 02, 2006

The Blue Room or...Syba has a friend

I've been slacking on the blogging. I'll try to get you guys up to speed. The first pic is of our guestroom/tv room. Some might call it the Blue room. We scraped off the wallpaper and fixed the cracks in the wall with plaster. I primed the walls and painted it a light green. Eleni painted those awesome blue swirls. We rented a floor sander and I sanded the hardwood floors in this room and the dinning room. Eleni sanded all the sides by hand. I'm real happy with the way it came out. Last time, I think I was a little hard on myself. Syba is into the new couch we picked up at a second hand store. Wait, I was talking about the floors. Next is a pic of our dining (green) room with the floors done. I know Syba's cute. Speaking of Syba, here is a picture of Chagall. He stayed with us for a few days. We also finished our front room and library. Here is a before pic of our front room, and following is an after shot. I know this was a fast blog, I just wanted to put something up since it has been awhile. Next time on this Sloping Band House, I'll be putting in a window where the door was (this was a duplex and has two front doors) and I will have pictures of another window replacement along with the rewiring of our living room chandelier. I also bought a new loop pedal for my guitar, which will also be featured next time. Now that half of the inside of the house is done, we are going to enjoy life a little more. I hope you take the time to as well.

Wednesday, January 25, 2006

My crap Hardwood floors


Why is it that some of us know the right way to do something, but don't do it? Is it being Lazy or is it wanting something so bad we go about it haphazardly? In my case. I know that when sanding hardwood floors, you start with a rough grade of sandpaper, medium grade and then fine grade. Stain the floors and add some polyurethane etc. I didn't do that. Disclaimer: Don't do what I did! You can sand through your floor and fall in! I used this machine. It's a monster. I never used it before . The old floor was gone before I knew it. Some parts were harder than others and took more than one pass. Parts of the floor have small dents in it now. I only used a rough grade and then stained/polyurethane the floors. I did do some what of a fine sanding by hand after the first coat of the polyurethane.
It too
k a few days for the floor to dry and the smell was getting to me. I'm thinking that I will redo them some other year. I guess the floor is better than before and we can put down some throw rugs. Some times, I'm my own worst critic. Syba seems to like the floor and Eleni loves it. Next time, I will take the time to do it right so I'll like it .

Monday, January 16, 2006

Moving the Outlet & the Closing of Beloved Cafe

As you faithful readers of the sloping house know, I knocked down a wall the other day. In that wall was an outlet that I had to move to another wall. The existing electrical wire wasn't long enough to hook into the new socket, so I had to install a junction box underneathe the house, splice the wire, and attach a longer piece of wire that would reach the outlet.
Here are some basic tools that I used:


The first thing I had to do was drill a hole into the floor so that the wire could come up through it. Then I pulled the wire up through the wall to the new outlet.

Next I attached the junction box (pictured here) and spliced the wires. The code requires that the copper wire, or ground wire, is secured to the junction box. After the wires are spliced, and the ground wire is secured, I twisted each of the two pairs of matching wires together (white to white and black to black) and put the twisted wires inside the covers (red and yellow pictured below).
After this I went upstairs to connect my outlet. Here is the basic outlet box I used upstairs which is used to secure the outlet to the wall.
After cutting a hole in the baseboard for this casing, I ran the wires through the holes in the casing. Then I matched and attached the existing wires together as I explained before. I used my CB tester on this outlet to make sure the polarities were matching the existing outlets and they were. I was concerned about the wires at first because the newer wire looks smaller than the existing wire, but when I tested the gage on the copper they matched up to what they were supposed to be.

Disclaimer: I am not an electrician. I only have a father who was.

If you follow my steps, you may burn your house down. OK, my wife wanted me to say that last statement.

I am sad to say, dear friends, that Beloved Cafe is closed due to a lack of customers. It seems Binge Cafe has reopened and stole all my people.

However, there is some good news. Beloved Binge will be hitting the studio in Atlanta. We're very excited to be recording in analog. We have some new tunes and some that you might know that we'll record. Hopefully we'll be done by the middle of April. I've been playing a lot more guitar these days and Eleni has too.